

Peri’s Spice Ladle is a blog, started in 2012, with the simple idea of bringing Indian and Parsi flavors to your table. As showcased for over a decade, “It’s easy to spice up just about any meal with a few Indian touches”.

Thoran-Style Spicy Shredded Cabbage
This week’s recipe will feel like a ‘food hug’; a warm slaw made with shredded cabbage and grated coconut, cooked down in an oil tempering of whole spices and fresh aromatics, all brought together with a hint of nutmeg and drizzle of tangy lime juice.
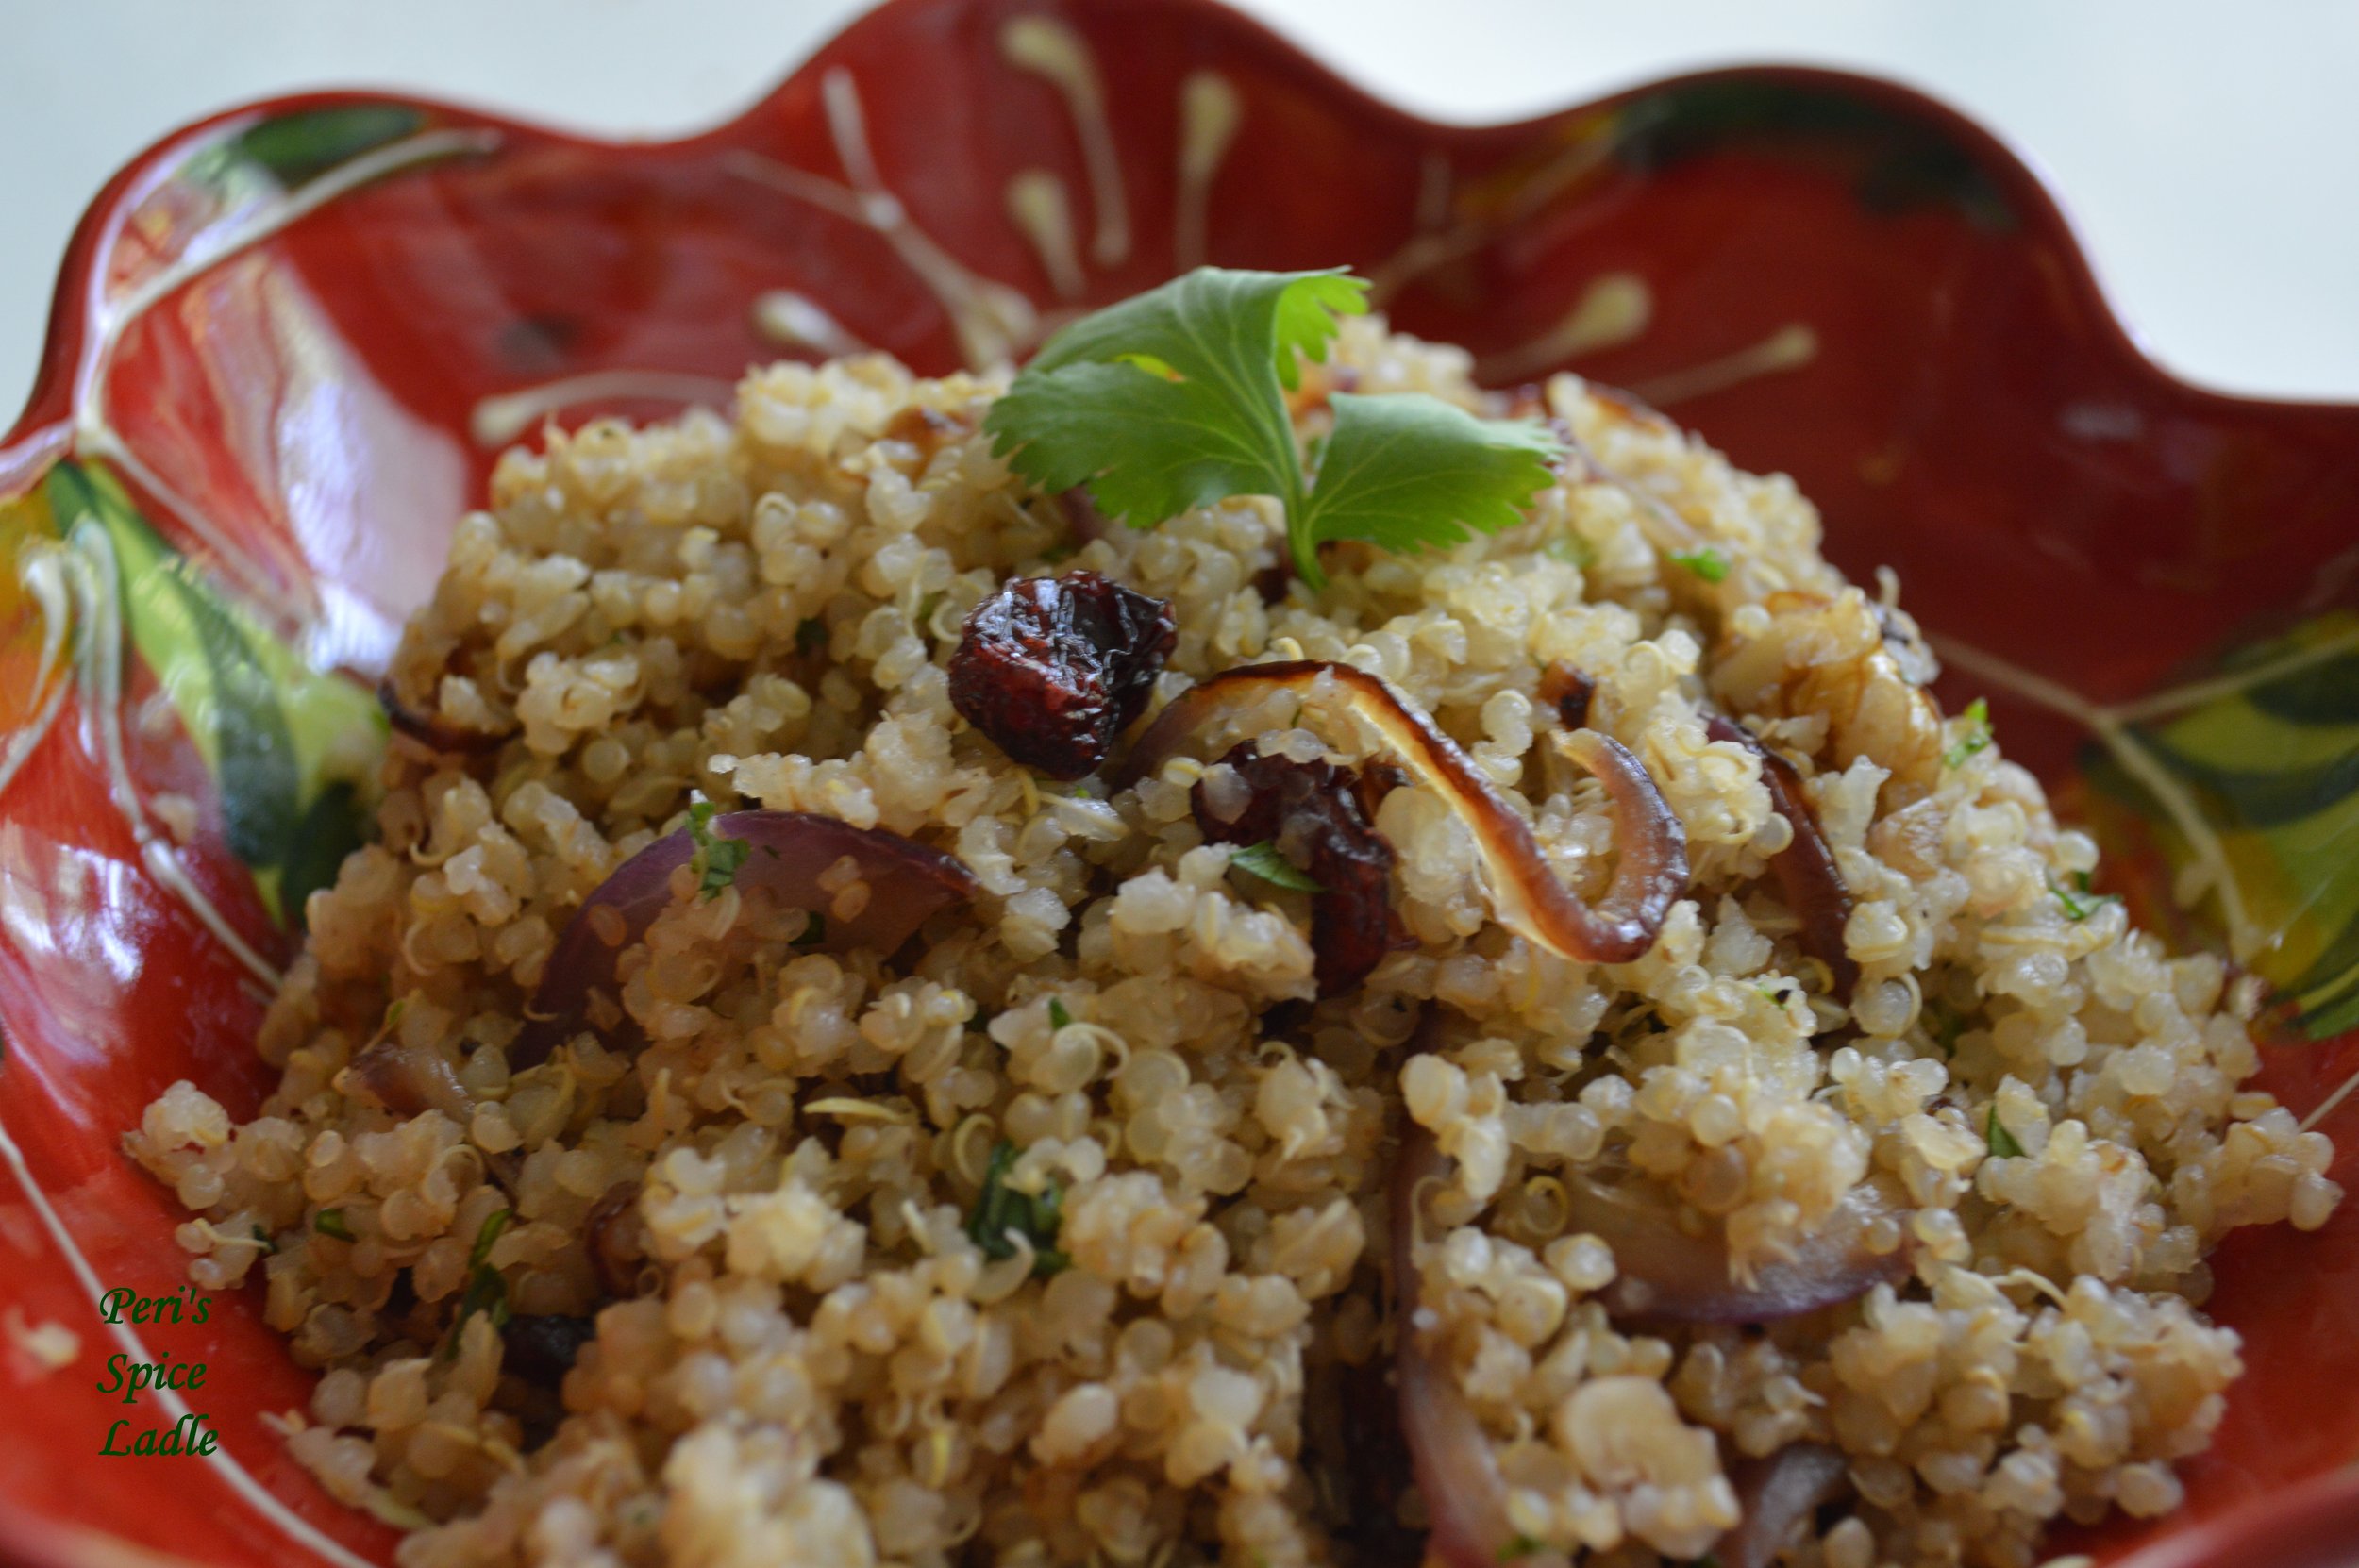
Indian-style Quinoa Pulao
A delicious Indian-style creation using quinoa with caramelized onion, walnuts, and cranberries, infused with whole spices and topped with cilantro and lemon.
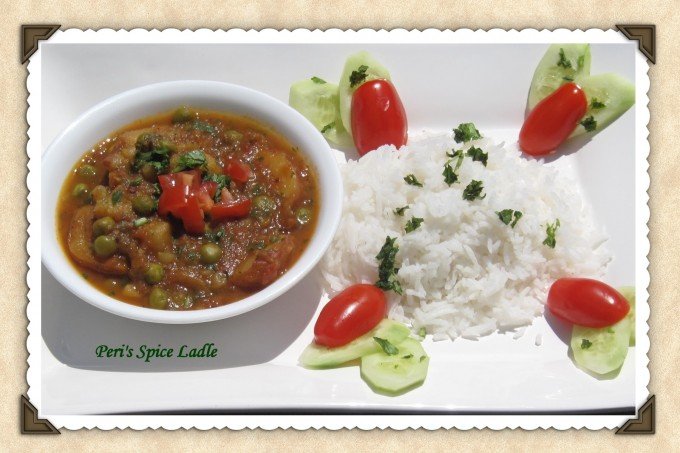
Aloo Mattar - Homestyle Potato and Pea Curry
Aloo Mutter is a popular Indian restaurant favorite…a delicious preparation of peas (Muttar) and potatoes (Aloo), cooked together in Indian aromatics and spices.

Parsi Lagan (Wedding) Nu Stew
This healthy, vegetable-rich, gluten-free Parsi stew looks and tastes unlike any other you’ve ever had! It’s made using hearty vegetables like sweet potatoes or yams along with regular potatoes, carrots, green peas, and bell peppers, with a unique flavoring blend of cider vinegar and sugar.